- Planning your edible garden
- Getting started with soil preparation
- Growing vegetables for beginners
- Harvesting and storing your crops
- Seasonal recipes from garden to table
Let’s dive into creating your dream edible garden! First, take a look at your available space – whether it’s a sprawling backyard or a cozy balcony, there’s always room for growing food. The key is matching your garden size with your family’s eating habits and available time for maintenance.
Start by mapping out your garden on paper, considering the path of the sun throughout the day. Most vegetables need at least 6-8 hours of direct sunlight to thrive. Remember that tall plants like tomatoes and pole beans should go on the north side to avoid shading shorter plants.
When selecting what to grow, think about your family’s favorite vegetables and herbs. There’s nothing quite like the joy of serving a meal featuring produce you’ve grown yourself! Here’s a simple guide to get you started:
- Beginner-friendly crops: lettuce, radishes, bush beans
- Family favorites: tomatoes, cucumbers, bell peppers
- Space-saving options: vertical growing plants, container-friendly varieties
- Year-round herbs: basil, parsley, thyme
Consider implementing companion planting strategies – certain plants grow better together. For example, basil helps tomatoes develop better flavor, while marigolds naturally deter harmful insects. Plan to group plants with similar water needs together to make maintenance easier.
Don’t forget to include paths between planting beds for easy access and maintenance. A good rule of thumb is to keep beds no wider than 4 feet so you can reach the middle from either side without stepping on the soil. This setup makes weeding, harvesting, and garden care a breeze, ensuring your garden brings more pleasure than work.
Getting started with soil preparation
The foundation of a thriving garden lies in proper soil preparation, which directly impacts the joy of eating fresh, homegrown produce. Start by conducting a soil test to determine pH levels and nutrient content. Most vegetables thrive in slightly acidic soil with a pH between 6.0 and 7.0. Local extension offices often provide affordable testing services.
Working with nutrient-rich soil transforms your garden into a productive ecosystem. Begin by removing existing vegetation and debris, then incorporate organic matter like compost, aged manure, or leaf mold. This enriches the soil structure and promotes beneficial microorganism activity.
| Soil Amendment | Benefits | Application Rate |
|---|---|---|
| Compost | Improves structure, adds nutrients | 2-3 inches mixed into top 12 inches |
| Aged Manure | Increases fertility, enhances drainage | 1-2 inches per season |
| Leaf Mold | Retains moisture, adds organic matter | 1-2 inches mixed into topsoil |
Double-digging, while labor-intensive, creates an optimal growing environment. Dig down 12 inches, removing the topsoil layer. Loosen the subsoil with a fork, then return the topsoil mixed with organic amendments. For clay-heavy soils, add sand and organic matter to improve drainage. In sandy soils, focus on adding organic material to improve water retention.
Consider raised beds if your native soil is particularly challenging. These allow better control over soil quality and provide excellent drainage. Fill raised beds with a mixture of 60% topsoil, 30% compost, and 10% potting soil for optimal growing conditions. Mulching with straw, wood chips, or grass clippings helps retain moisture, suppress weeds, and gradually improve soil quality as materials decompose.
Growing vegetables for beginners

Starting your first vegetable garden is like opening the door to a world of endless possibilities and pure joy. Let’s focus on some foolproof vegetables that will boost your confidence and fill your plate with homegrown goodness. These crops are known for their reliability and relatively easy care, making them perfect for beginners.
Tomatoes are a garden superstar that’ll have you eating fresh salads all summer long. Start with determinate varieties like ‘Roma’ or ‘Bush Early Girl’ – they’re more manageable and don’t require complex trellising. Plant them deep, removing lower leaves and burying the stem up to the top few leaves to develop a strong root system.
Leafy greens are another fantastic choice for new gardeners. Lettuce, spinach, and kale are quick to mature and can be harvested continuously. Try the “cut-and-come-again” method – snip outer leaves while leaving the center intact, and they’ll keep producing for weeks. Here’s what else you can easily grow:
- Bush beans – direct sow and harvest within 50-60 days
- Zucchini – one or two plants will feed your whole family
- Radishes – ready to eat in just 3-4 weeks
- Bell peppers – perfect for containers and salads
- Cherry tomatoes – super productive and kid-friendly
Water is crucial for success, but it’s easy to get it wrong. The key is consistent moisture – not too much, not too little. Water deeply and less frequently rather than giving plants daily light sprinklings. This encourages roots to grow deeper and stronger. A layer of mulch around your plants helps retain moisture and suppress weeds.
Keep an eye out for common issues like yellowing leaves (often a sign of nutrient deficiency) or holes in leaves (usually pest damage). Start with organic solutions like handpicking insects or using companion plants to deter pests. Remember, some leaf damage is normal and won’t affect your harvest – perfectionism isn’t necessary for a productive garden that brings eating pleasure.
Harvesting and storing your crops
Knowing when and how to harvest your bounty marks the difference between good and exceptional garden-to-table eating. Timing your harvest correctly ensures peak flavor and maximum nutritional value, transforming your garden experience into a true culinary joy.
“The greatest fine art of the future will be the making of a comfortable living from a small piece of land.” – Abraham Lincoln
- Harvest vegetables at their prime:
- Tomatoes – when fully colored but still firm
- Leafy greens – young, tender leaves before they become bitter
- Root vegetables – when they reach desired size but before becoming woody
- Peas and beans – while pods are still tender and seeds haven’t fully developed
- Proper storage techniques:
- Cool, dark place (50-60°F) for root vegetables and squash
- Refrigerator crisper drawer for leafy greens and herbs
- Counter storage for tomatoes and peppers until fully ripe
- Mesh bags or baskets for garlic and onions
To extend your eating pleasure throughout the seasons, consider various preservation methods. Fresh herbs can be dried or frozen in oil cubes, tomatoes can be canned or made into sauce, and many vegetables can be blanched and frozen. Create a storage inventory system to track what you’ve preserved and when it needs to be used. For root vegetables like carrots and potatoes, try storing them in boxes layered with slightly damp sand in a cool basement or root cellar.
Remember to harvest herbs and leafy vegetables regularly to encourage continued production. Morning harvesting, when plants are full of moisture and nutrients, provides the best flavor and longest storage life. Always use clean, sharp tools to minimize damage to plants and reduce the risk of disease transmission. The joy of eating from your garden extends well beyond the growing season when you master proper harvesting and storage techniques.
Seasonal recipes from garden to table
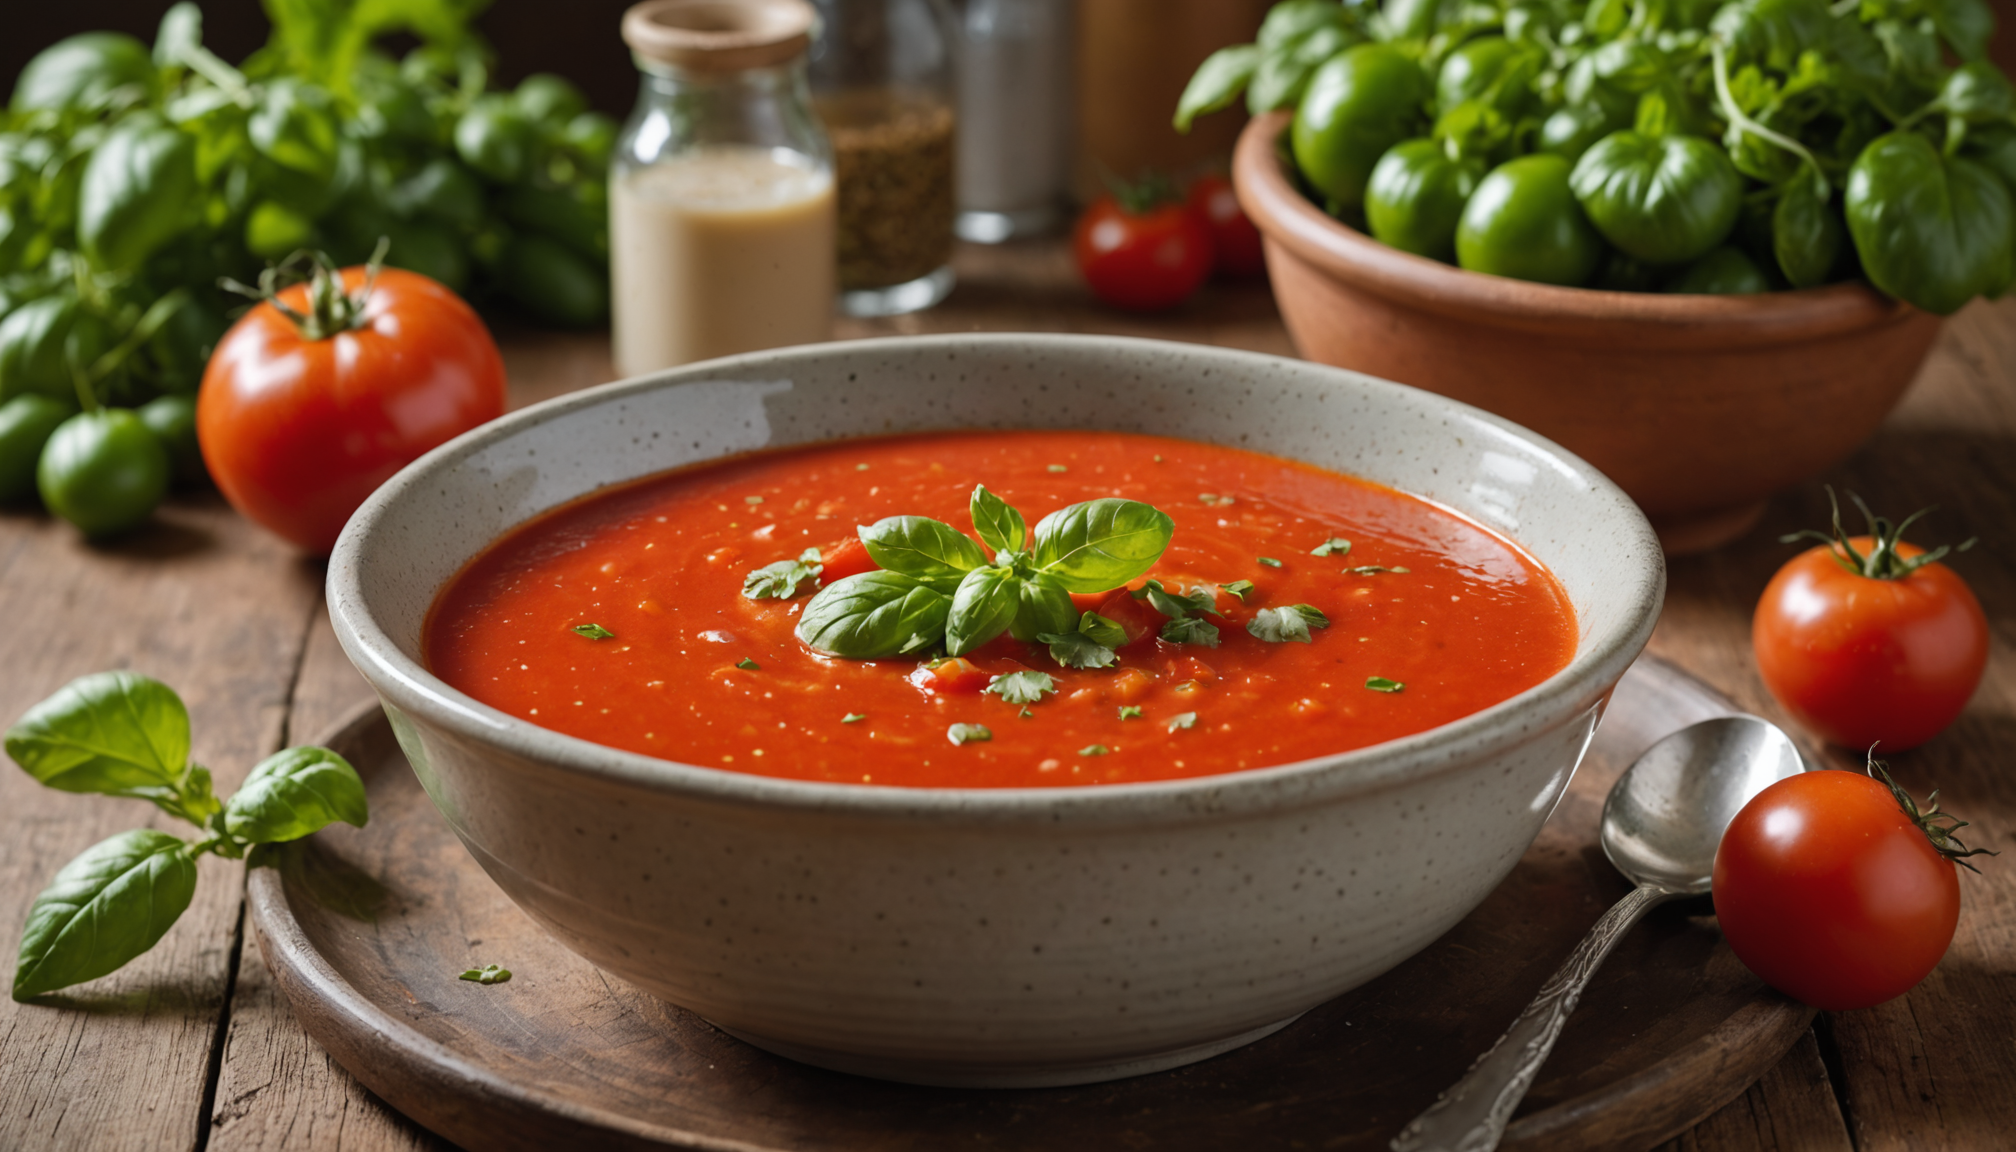 Transform your harvest into delightful meals that celebrate each season’s bounty. When summer arrives, fresh tomato gazpacho becomes a cooling lunch staple. Simply blend sun-ripened tomatoes with garden-fresh cucumbers, peppers, and herbs for an authentic farm-to-table experience. For a quick dinner, toss just-picked cherry tomatoes and basil with pasta, letting their natural flavors shine.
Fall brings the joy of root vegetable gratins – layer thinly sliced potatoes, carrots, and parsnips with cream and garden herbs. Create hearty soups using winter squash, onions, and garlic you’ve grown. A favorite combination includes roasted butternut squash with sage and homegrown leeks.
Spring offers tender greens perfect for vibrant salads. Mix different lettuce varieties with edible flowers like nasturtiums and young herb leaves. Add a simple vinaigrette made with preserved herbs from your garden for a bright, fresh taste. Here’s a seasonal eating guide:
Summer:
– Grilled zucchini and eggplant with fresh herbs
– Garden salsa with tomatoes, peppers, and cilantro
– Fresh green bean almondine
Fall/Winter:
– Roasted root vegetable medley
– Pumpkin soup with sage
– Kale and white bean stew
Spring:
– Mixed green salad with edible flowers
– Herb-infused frittata
– New potato salad with fresh dill
Preserve summer’s abundance by creating herb-infused oils, pestos, and vegetable preserves. Frozen herb cubes add garden-fresh flavor to winter dishes. Experiment with fermentation – turn excess cabbage into sauerkraut or kimchi. Create unique spice blends by drying and grinding your own herbs and chilies.
Remember to label preserves with ingredients and dates, noting which recipes worked best. Start a garden recipe journal to track successful combinations and seasonal favorites. Share extra produce and recipes with neighbors, spreading the joy of garden-to-table eating throughout your community.

