- Planning your salad garden
- Essential tools and materials
- Selecting the best greens to grow
- Planting and maintenance tips
- Harvesting and storing your produce
Before diving into growing salads, it’s crucial to map out your garden space thoughtfully. Even a small area can yield an impressive harvest – a 4×8 foot raised bed or several containers on a sunny patio can provide enough fresh greens for a family’s healthy diet. Start by checking your garden’s sun exposure; most salad greens need 4-6 hours of sunlight daily.
Consider creating a succession planting schedule, where you sow new seeds every two weeks. This ensures a continuous harvest rather than having all your lettuce ready at once. Map out your growing space on paper, dividing it into sections that you’ll plant at different times.
Location matters tremendously. Choose a spot that’s easily accessible from your kitchen – you’re more likely to harvest and use your greens when they’re just a few steps away. Also, think about water access. Having a water source nearby will make maintenance much easier during dry spells.
If you’re working with limited space, consider these options:
- Vertical gardening using wall-mounted planters
- Container combinations on a deck or patio
- Window boxes for compact greens
- Raised beds for better soil control
Don’t forget to factor in companion planting. Herbs like basil and dill not only enhance your salads but also help deter pests. Marigolds and nasturtiums serve as beautiful, edible additions while naturally protecting your greens from unwanted insects.
Essential tools and materials
| Basic Tools | Purpose | Estimated Cost |
|---|---|---|
| Hand trowel | Planting and transplanting | $10-15 |
| Garden fork | Soil loosening and aeration | $15-20 |
| Pruning shears | Harvesting and trimming | $20-30 |
| Watering can/hose | Irrigation | $25-40 |
Beyond tools, you’ll need high-quality growing materials. Start with premium potting soil or compost-rich garden soil specifically formulated for growing vegetables. For container growing, ensure proper drainage by adding perlite or vermiculite. A soil pH testing kit helps monitor soil conditions, keeping your salad greens healthy and productive.
Essential supplies should include:
– Plant markers or labels
– Garden twine
– Row covers for pest protection
– Organic fertilizer
– Mulch materials
– Containers or raised bed materials
– Seed starting trays
– Fine-mist spray bottle
For growing salads year-round, consider investing in season extenders like cold frames or mini greenhouse tunnels. These structures protect tender greens from harsh weather and extend your growing season significantly.
Storage solutions are equally important. Designate a dry, ventilated area for keeping tools clean and organized. Use a tool belt or garden apron to keep frequently used items within reach while working. Consider a small potting bench for seed starting and transplanting operations, making your gardening tasks more comfortable and efficient.
Remember to maintain your tools regularly by cleaning them after use and keeping cutting edges sharp. This prevents disease transmission between plants and ensures your equipment lasts longer, making your investment in growing nutritious salads more sustainable.
Selecting the best greens to grow
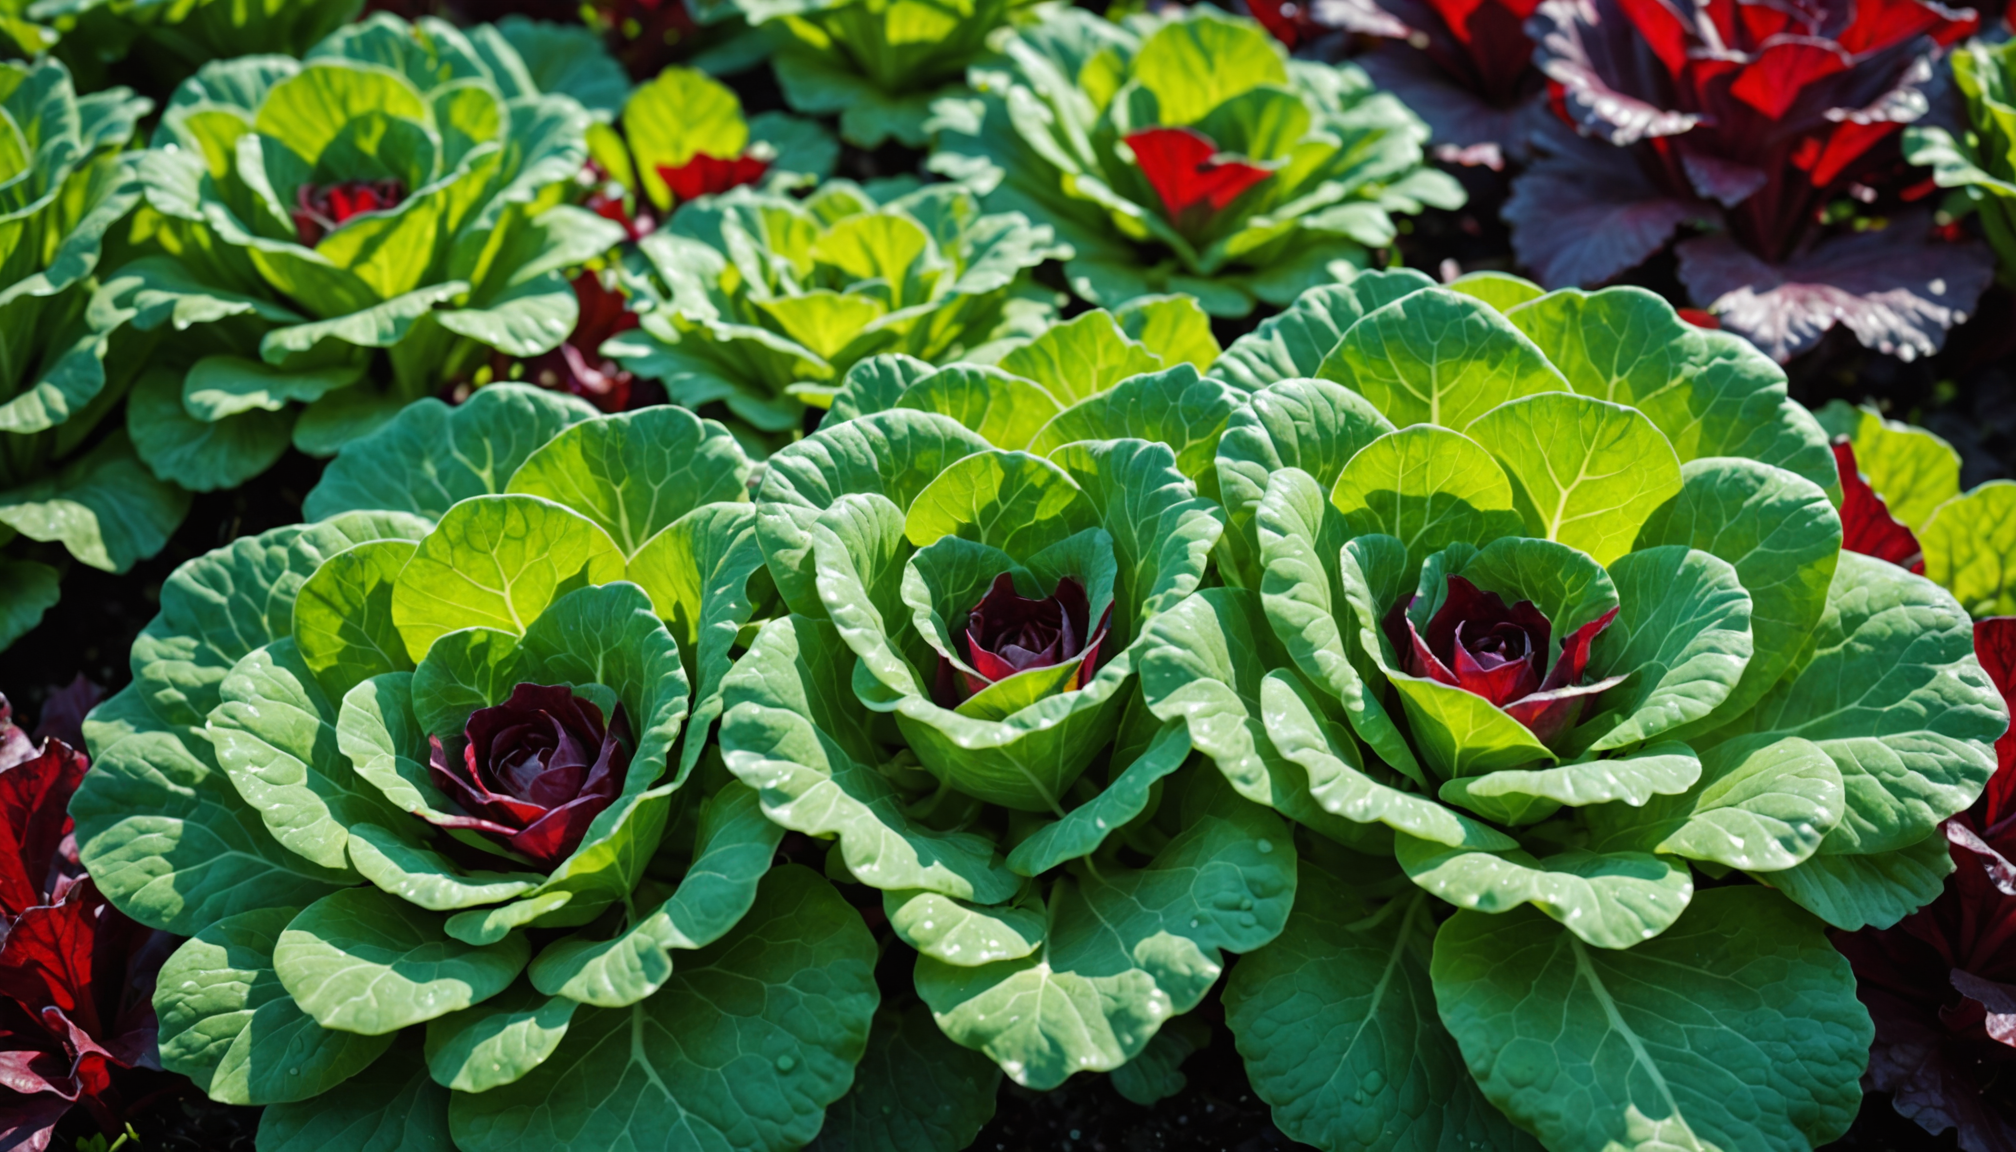
Let’s talk about the stars of your salad garden! When it comes to growing the most nutritious and flavorful greens for your healthy diet, variety is key. Lettuce is your foundation – loose-leaf varieties like ‘Red Sails’ and ‘Oak Leaf’ are perfect for beginners because you can harvest outer leaves while letting the plant continue growing. Butterhead lettuces offer a tender, delicate texture that you just can’t find in store-bought varieties.
For nutritional powerhouses, don’t skip these must-haves:
- Kale (especially ‘Lacinato’ and ‘Red Russian’ varieties)
- Swiss chard (try ‘Bright Lights’ for beautiful colors)
- Arugula (quick-growing and peppery)
- Spinach (both summer and winter varieties)
- Mizuna (adds a lovely Asian flair to salads)
Mix in some spicy greens to keep your salads interesting. Mustard greens, watercress, and Asian greens like tatsoi add wonderful zip to your bowl. These plants are typically more heat-tolerant than lettuce, making them perfect for growing through warmer months when traditional salad greens might struggle.
Consider growing microgreens too – they’re super nutritious and ready to harvest in just a couple of weeks. Radish, beet, and sunflower microgreens pack intense flavors and nutrients into tiny packages. Plus, they’re perfect for small spaces and indoor growing.
For year-round success, choose seasonal varieties. Plant heat-resistant greens like ‘Summer Crisp’ lettuce for warmer months, and cold-hardy options like mâche and claytonia for winter growing. Some greens, like certain kale varieties, actually become sweeter after a light frost, extending your growing season well into the cooler months.
Remember to include edible flowers in your planning – they’re not just pretty garnishes! Calendula, borage, and violas are all safe to eat and add gorgeous color to your salads. They also attract beneficial insects, making your garden healthier overall.
Planting and maintenance tips
- Prepare your soil by incorporating compost and organic matter
- Space seeds according to package instructions, typically 4-6 inches apart
- Plant seeds at the correct depth – usually 1/4 inch for most greens
- Water gently using a fine spray to avoid displacing seeds
- Maintain consistent moisture until germination
“The greatest fine art of the future will be the making of a comfortable living from a small piece of land.” – Abraham Lincoln
For optimal growth and a continuous healthy diet, maintain your salad garden with these essential practices. Water deeply but infrequently to encourage strong root development – aim for about 1-1.5 inches of water per week. Monitor soil moisture by inserting your finger into the soil; if it’s dry beyond the first joint, it’s time to water. Apply a light layer of organic mulch around plants to retain moisture and suppress weeds.
Combat common issues before they become problems. Check leaves regularly for signs of pest damage or disease. If you spot holes in leaves, look for slugs or caterpillars, especially during early morning or evening hours. Consider installing row covers to protect young plants from pests while allowing light and water through. For growing the healthiest greens, maintain good air circulation between plants by thinning as needed and removing any yellowed or damaged leaves promptly.
Harvesting and storing your produce
 Timing is everything when harvesting salad greens. Pick leaves early in the morning when they’re crisp and full of moisture. For loose-leaf varieties, use the “cut-and-come-again” method – harvest outer leaves about an inch above the growing point, allowing the plant to continue producing. This technique ensures weeks of fresh greens for your healthy diet.
Different greens require specific harvesting approaches. Baby greens are ready when leaves reach 3-4 inches, while full-size lettuce heads should be harvested once they’re firm but before they bolt. Kale and chard leaves can be picked individually from the outside, leaving the central growth point intact for continuous production.
Store your freshly harvested greens properly to maintain their nutritional value. First, gently wash them in cool water to remove dirt and potential insects. Spin or pat them dry thoroughly – moisture is the enemy of storage. Place clean, dry leaves in a plastic bag with a slightly damp paper towel, then store in the crisper drawer of your refrigerator. Most greens will stay fresh for 7-10 days when properly stored.
For longer-term storage, consider these methods:
– Freeze hardy greens like kale and collards after blanching
– Create vacuum-sealed bags for extended refrigerator life
– Process excess greens into pesto or sauce bases
– Dehydrate herbs and tender greens for winter use
Save seeds from your best-performing plants for next season’s growing. Allow a few plants to flower and set seed, then collect them when they’re completely dry. Store seeds in paper envelopes in a cool, dark place. This practice not only saves money but helps develop varieties specifically adapted to your garden conditions.
To prevent waste, harvest only what you can use within a few days. If your garden produces more than you can eat fresh, share the bounty with neighbors or consider donating to local food banks. Growing salads isn’t just about personal health – it’s about building community connections through fresh, nutritious food.
