- Planning your edible garden
- Growing vegetables and fruits by season
- Harvesting and storing your homegrown produce
- Preserving the seasonal bounty
- Designing a year-round growing calendar
Starting your own edible garden begins with understanding your yard’s unique characteristics. Take a walk around your space and notice where the sun hits throughout the day. South-facing areas typically receive the most sunlight, making them perfect for sun-loving vegetables like tomatoes and peppers. Don’t worry if you have shady spots – they’re great for growing leafy greens!
Next, get your hands dirty and check your soil. Your local extension office can help with soil testing, revealing what amendments you’ll need for healthy growth. While waiting for results, start mapping out your garden beds. Remember, eating seasonally from your yard means maximizing every square foot.
Consider these essential factors when plotting your garden layout:
- Water access – keep beds near water sources
- Path placement for easy harvesting
- Vertical growing opportunities for vines and climbers
- Companion planting combinations
- Space for crop rotation
Start small with a kitchen garden near your house for easy access to herbs and frequently used vegetables. As you gain confidence, expand gradually. Container gardening works beautifully for small yards or sunny patios, offering flexibility and control over growing conditions.
Think about your family’s eating habits when selecting crops. There’s no point growing mountains of zucchini if nobody enjoys it! Plan to grow what you actually eat, and consider including some local varieties that are well-adapted to your climate. This approach ensures your garden truly supports your journey toward eating seasonally.
Don’t forget to include some perennial food plants like fruit trees, berry bushes, or herbs. These will provide years of harvests with minimal replanting effort. Just ensure they’re positioned where they won’t overshadow your annual vegetables as they mature.
Growing vegetables and fruits by season
Successful seasonal growing starts with understanding which crops thrive in your local climate during different times of the year. By aligning your planting schedule with nature’s rhythm, you’ll maximize your yard’s productivity while eating seasonally year-round.
| Season | Cool-Weather Crops | Warm-Weather Crops |
|---|---|---|
| Spring | Lettuce, Peas, Radishes, Spinach | Early Tomatoes, Bush Beans |
| Summer | Swiss Chard, Late Cabbage | Peppers, Eggplants, Cucumbers |
| Fall | Kale, Brussels Sprouts, Carrots | Winter Squash, Late Tomatoes |
| Winter | Garlic, Winter Lettuce (protected) | Indoor Microgreens |
Cool-season vegetables flourish in spring and fall, while heat-loving crops perform best during summer months. Starting seeds indoors gives warm-season crops a head start while winter still lingers. Succession planting ensures continuous harvests – sow short-season crops like radishes every two weeks for steady yields.
Protection methods extend growing seasons beyond their natural limits. Cold frames, row covers, and mini hoop houses shield tender plants from frost, allowing for earlier spring planting and later fall harvests. These season-extension techniques are particularly valuable for local food production in regions with shorter growing seasons.
Root vegetables typically prefer cooler temperatures and can remain in the ground well into winter with proper mulching. Fruiting crops such as tomatoes, peppers, and squash need warmth and full sun to develop properly. Consider using black plastic mulch to warm soil earlier in spring for these heat-loving plants.
For vertical growing, pole beans and climbing peas maximize space while producing abundantly during their respective seasons. Indeterminate tomatoes continue fruiting throughout the season when properly supported. Leafy greens can be grown in partially shaded areas during hot months when they might otherwise bolt.
Proper timing is crucial – consult your local extension office for specific planting dates suited to your area. Remember that eating seasonally from your yard means adapting to nature’s schedule rather than forcing crops to grow at inappropriate times. Many crops taste sweetest when harvested during their natural season – winter spinach develops extra sugars for frost protection, making it exceptionally flavorful.
Harvesting and storing your homegrown produce
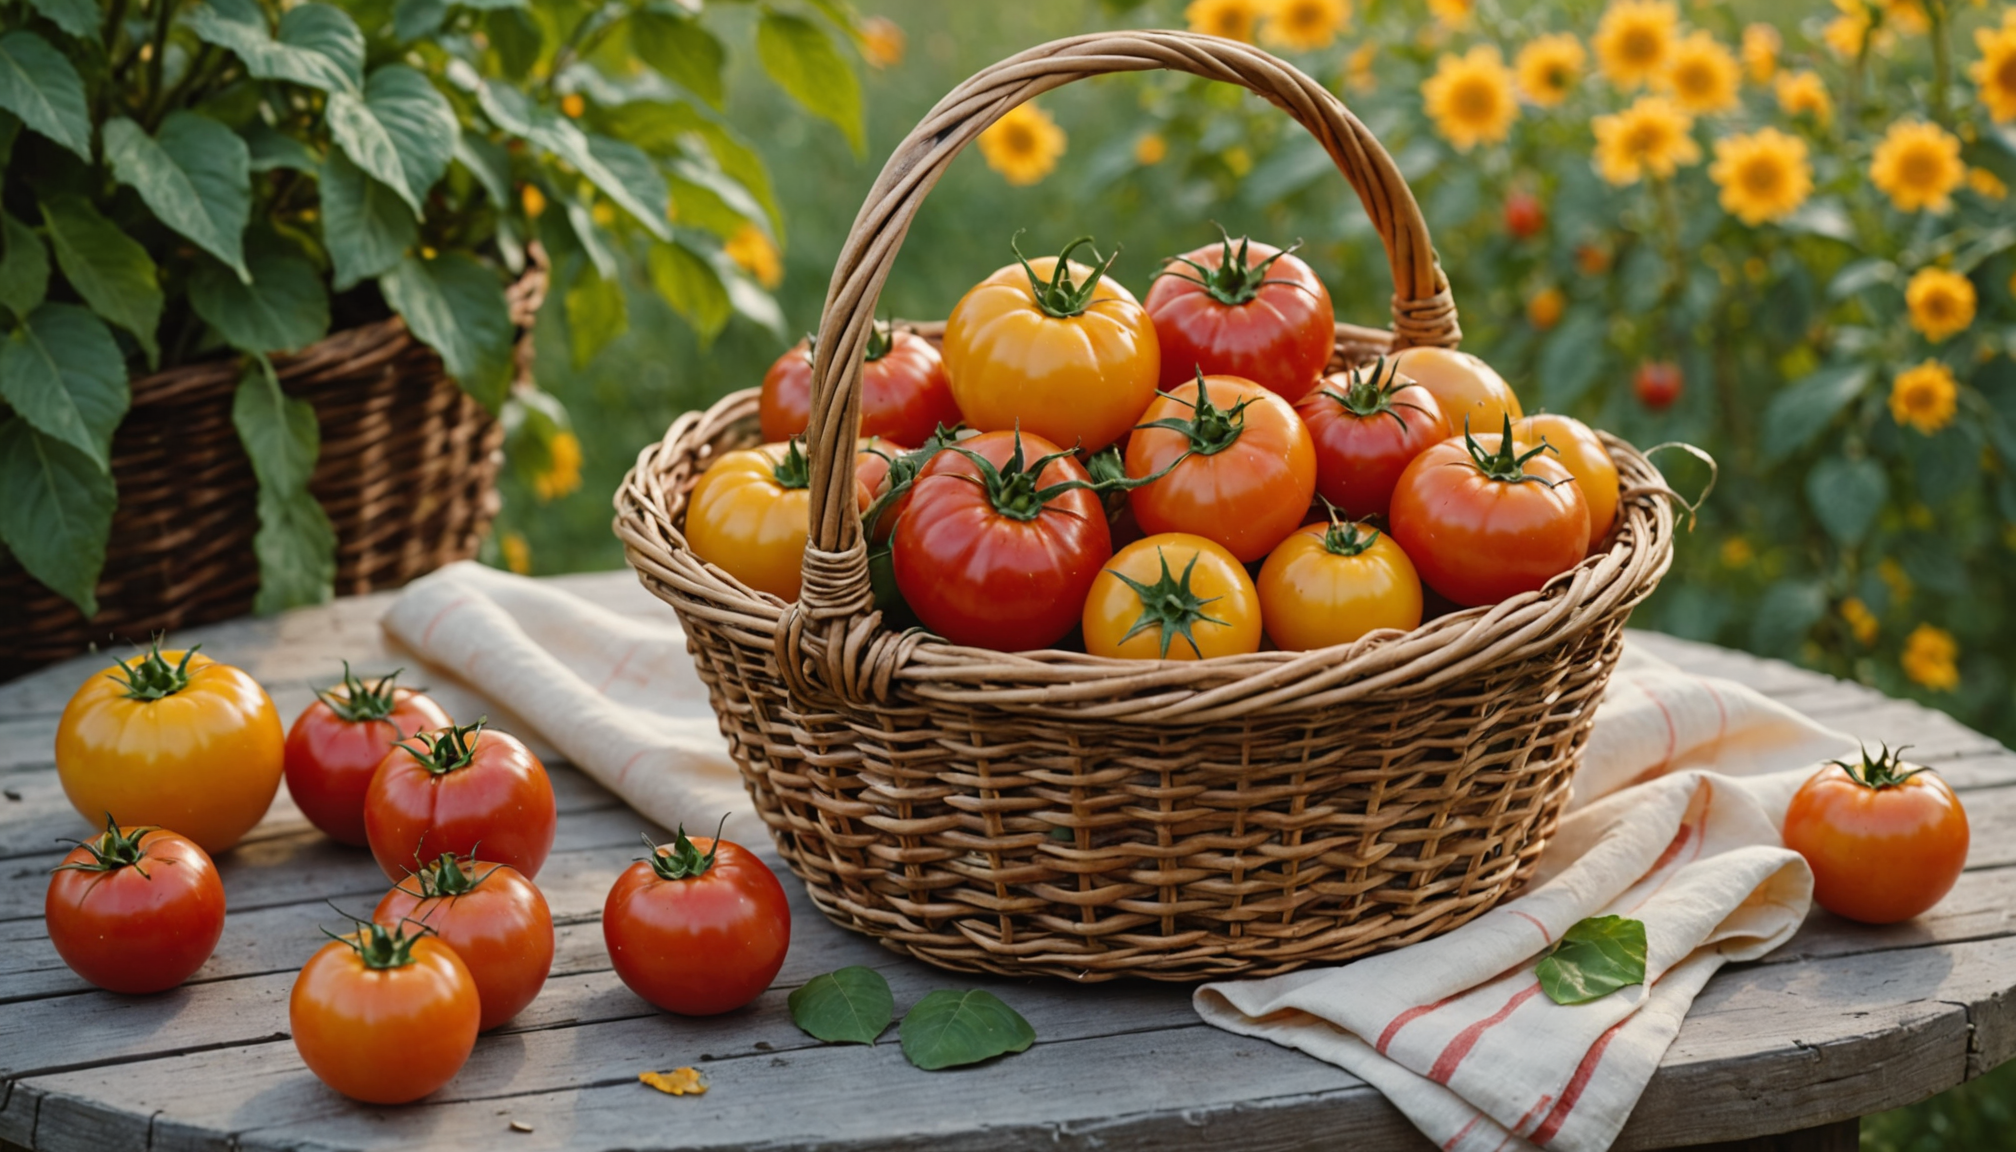
Knowing exactly when and how to harvest your homegrown produce makes all the difference in eating seasonally from your yard. Each vegetable and fruit has its own signs of readiness – tomatoes should be firm but yielding, with deep, even coloring, while root vegetables often peek their shoulders above the soil when they’re mature. Early morning harvesting, when plants are full of moisture and nutrients, yields the best results.
Your harvesting toolkit doesn’t need to be fancy, but having the right equipment helps protect both you and your produce. Keep these essentials handy:
- Clean, sharp scissors or pruning shears
- Collection baskets or containers
- Garden gloves
- Digging fork for root crops
- Clean storage containers
Proper storage extends the life of your local harvest significantly. Different crops need different conditions to stay fresh. Create storage zones in your home based on these requirements:
- Cool and dry: onions, garlic, winter squash
- Cool and moist: root vegetables, apples, pears
- Room temperature: tomatoes, basil, melons
- Refrigerated: leafy greens, broccoli, beans
Some vegetables, like potatoes and carrots, can be stored right in your yard through winter using methods like root cellaring or straw-mulched beds. This traditional storage technique helps maintain a steady supply of homegrown food even when the garden is dormant.
Always clean your produce gently before storage, removing any damaged portions that could lead to spoilage. Most root crops store better with their soil brushed off but not washed. For leafy greens, a quick rinse and spin-dry helps them stay crisp longer in the refrigerator.
Keep ethylene-producing fruits like apples separate from ethylene-sensitive vegetables, as they can cause premature ripening and spoilage. Regular checks of stored produce help you catch any issues early and ensure you’re using items before they deteriorate. This mindful approach to storage supports your commitment to eating seasonally while minimizing waste.
Preserving the seasonal bounty
When the harvest peaks, preserving your bounty ensures you can continue eating seasonally from your yard throughout the year. The key to successful food preservation lies in choosing the right method for each crop and processing at peak ripeness.
“The art of food preservation connects us to our ancestors, who understood that storing the summer’s abundance was essential for winter survival.” – Barbara Kingsolver
- Basic preservation methods:
- Freezing – best for berries, peas, corn, and herbs
- Dehydrating – excellent for tomatoes, apples, and herbs
- Canning – perfect for tomatoes, pickles, and jams
- Fermentation – ideal for cabbage, cucumbers, and beans
- Processing steps for optimal results:
- Clean all equipment thoroughly
- Process vegetables and fruits immediately after harvesting
- Follow tested recipes for safe preservation
- Label all preserved foods with contents and date
Different preservation methods suit different crops from your local yard. Freezing maintains the highest nutritional value and requires minimal processing time. Simply blanch vegetables briefly, cool quickly, and pack in freezer-safe containers. For herbs, freeze in oil or water in ice cube trays for convenient cooking portions. Dehydrating works wonderfully for creating shelf-stable snacks and cooking ingredients, while maintaining intense flavors. Set up a food dehydrator in a well-ventilated area, or use your oven on its lowest setting with the door slightly open.
Water bath canning suits high-acid foods like tomatoes and fruits, while pressure canning is necessary for low-acid vegetables. Always use current safety guidelines and tested recipes to ensure food safety. Fermentation offers probiotic benefits while preserving vegetables – traditional sauerkraut and kimchi are excellent starting points for beginners. Keep ferments at cool room temperature during the fermentation process, then refrigerate to slow fermentation and maintain crispness.
Designing a year-round growing calendar
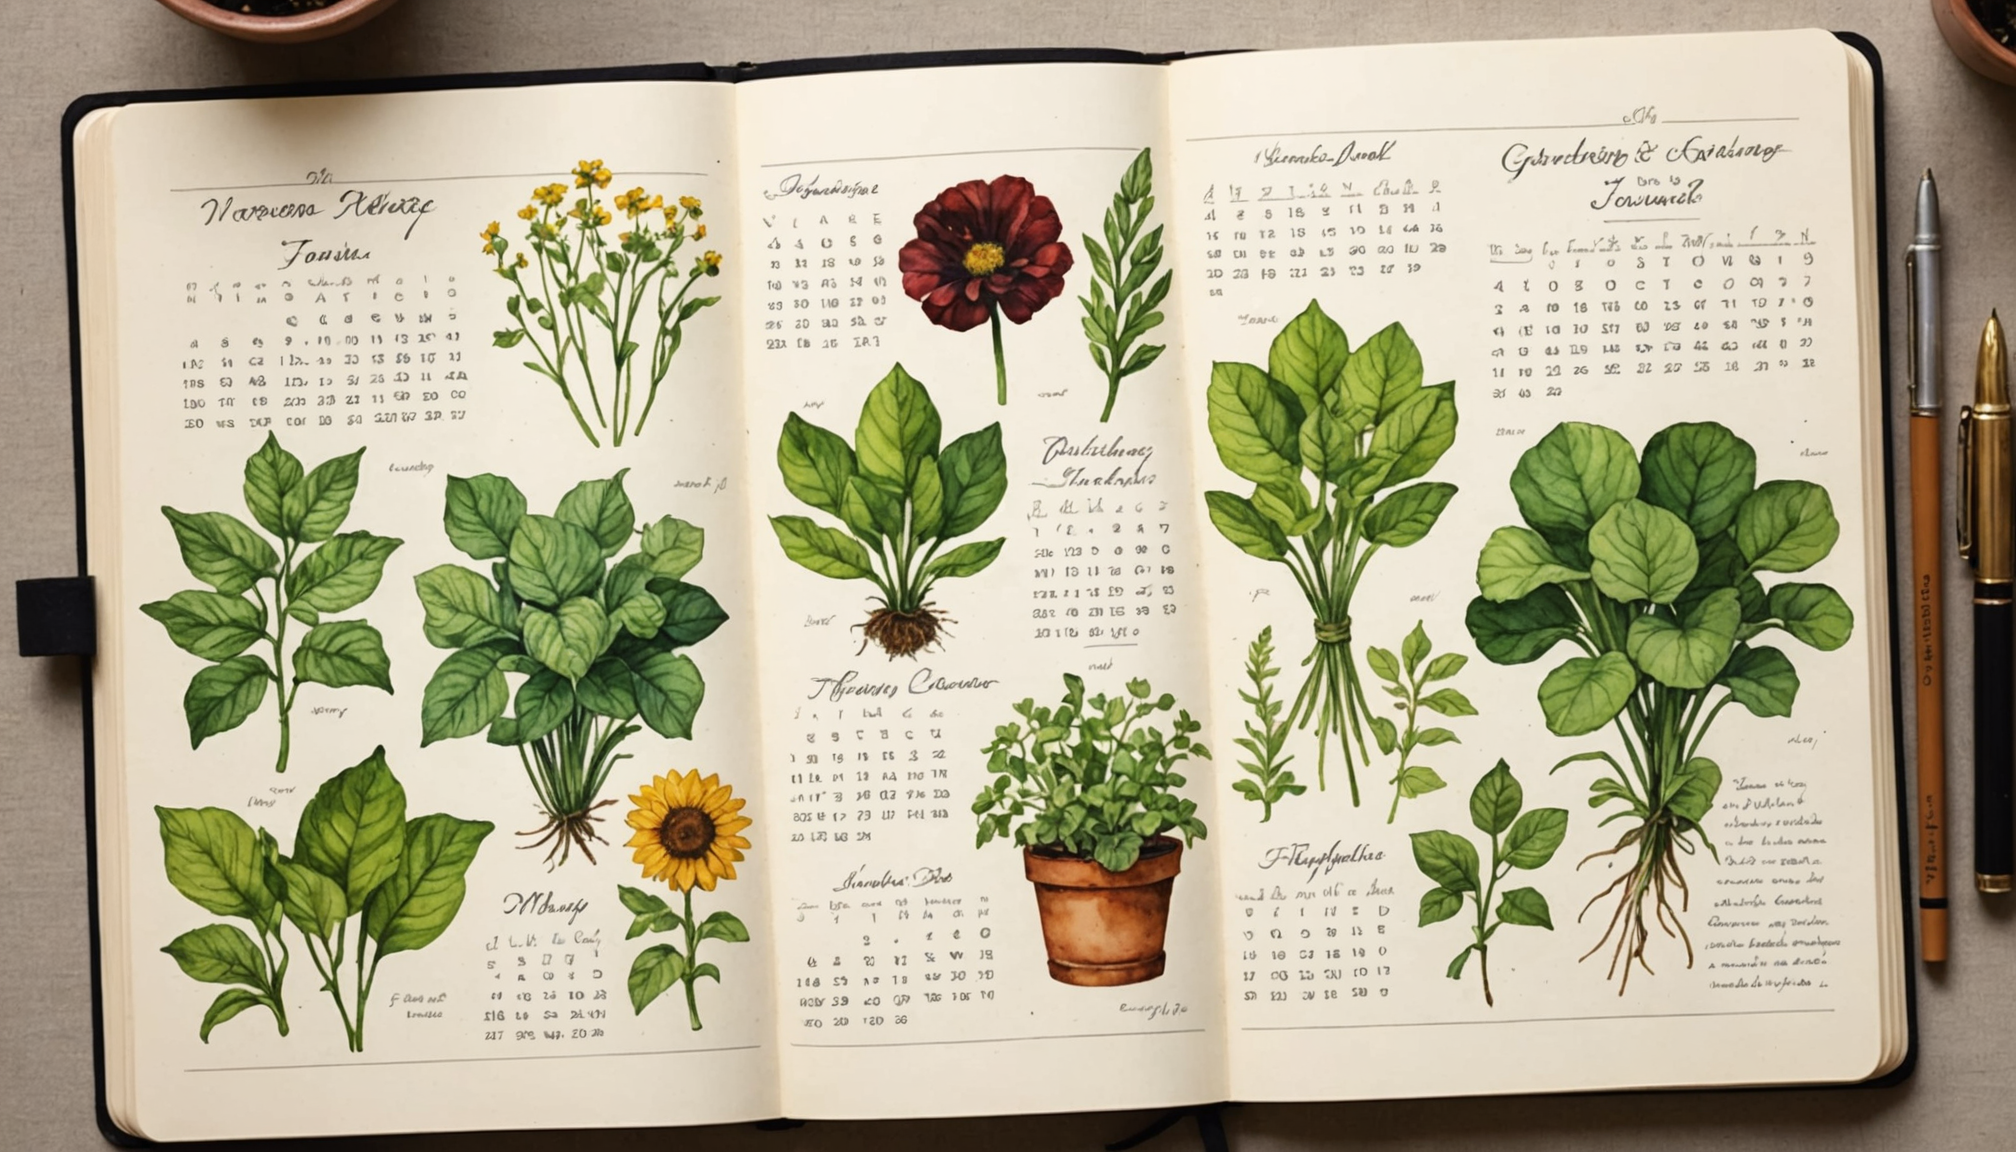 Map out your growing journey with a detailed calendar that captures every aspect of yard-to-table cultivation. Begin by dividing your yearly planting schedule into bi-weekly segments, noting key frost dates and seasonal transitions specific to your climate zone. Create overlapping planting windows to ensure continuous harvests throughout the growing season.
Document your garden’s microclimates – those uniquely warm or cool spots that might extend growing periods for certain crops. Track sunset and sunrise patterns across seasons to maximize light exposure for different plantings. Consider incorporating season extenders like cold frames or row covers into your timeline to push the boundaries of traditional growing periods.
Start seeds indoors 6-8 weeks before your last frost date for warm-season crops. Plan successive sowings of quick-growing vegetables every 2-3 weeks during peak season. Schedule long-season crops like winter squash and root vegetables to mature just before first frost, ensuring maximum storage potential.
Maintain detailed notes about which varieties perform best in your local conditions. Record planting dates, germination rates, first harvests, and yield quantities. This information becomes invaluable for future planning and helps refine your eating seasonally strategy. Include maintenance tasks like soil preparation, fertilizing schedules, and crop rotation plans.
Create a visual timeline marking when to:
– Start seeds indoors
– Direct sow hardy crops
– Transplant seedlings
– Apply seasonal amendments
– Install support structures
– Begin succession planting
– Implement pest management
– Schedule preservation activities
Factor in time for soil building between seasons. Plan cover crop plantings to rejuvenate garden beds during fallow periods. Schedule crop rotations to maintain soil health and prevent disease buildup. Remember to leave spaces for continuous herb production and perennial food plants that anchor your yard’s food production system.
Integrate weekly harvest estimates into your calendar to help manage preserving sessions and meal planning. Include reminders for saving seeds from successful plants, noting which varieties proved most reliable for your specific growing conditions. This living document evolves with your garden, becoming more refined and accurate with each passing season.
